Zooming into still pictures gives them more life and keeps them in line with the rest of the piece as everything keeps moving.
To start with you want to a picture and drag and drop it into Final Cut Pro. I've chosen one of my dog as a puppy. You want to make it last about 15 seconds for the sake of this tutorial.
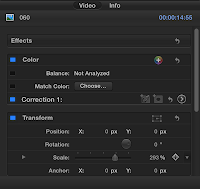
 Now, as you can see the image isn't the right size, but that shouldn't matter because you can zoom in on it if you don't want the whole thing in shot. To do this you click on the image in the timeline to select it. You then take your curser to the box in the top right corner of your window where it should say 'Video' and 'Info'. Select 'Video' then use then find the scale slider. Move this left and right to zoom in and out.
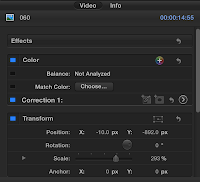
 Your image is now zoomed in but this may not be the section you want to focus on. To change the position of the image stay in the same box, but instead of adjusting the scale select 'Position' instead. The X axis moves your image left and right whereas the Y axis will move it up and down. You can adjust these values until the image is in the position you want it to be in.
Now you know the basics we can move on to the next part of the tutorial, the bit that makes everything 'move' - Keyframes.
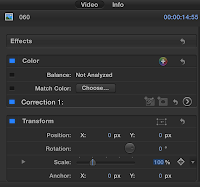
To start with you want to take the 'Playhead' (the line that moves along your video's timeline as it plays) and place it at the start of the image. Adjust the Position and Scale values to what you want it to look like before it starts to zoom in. I'm going with the default settings: Scale - 100%, Position - X: 0 Y: 0.
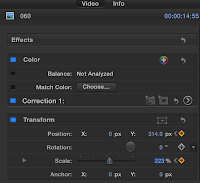
 When you place your mouse over the values you will see a plus sign appear in a diamond to the right hand-side of the adjusters. Click this on both the Position and Scale values to lock them in place. They will turn yellow once they are set.
You then want to move the playhead further along the image to where you want the image to start zooming in. Don't change any of the values, just click the diamonds again to set the position. Ideally it should be around the two second mark.
Now you have to move the playhead to where you want the image to stop zooming in, around four seconds from the end of it so that the viewer has time to take it in.
 Return to the Position and scale sliders and adjust them to how you want the final zoomed in image to look, then press the diamonds again to set the keyframes.
When you watch the video it should now zoom in on the image, jazzing it up a little bit.
You can also use this technique to rotate the images (Rotation) and apply them to video files.


No comments:
Post a Comment